
What Is Behind Stone Veneer, and Why It Comes Off Walls
A water-resistive barrier, lath, flashing and a corrosion-resistant screed at the base of the wall, and those are the parts that keep water out. The stone does not. Adhered veneer comes off a wall when water gets in behind it and has no route back out, and in this climate the trapped water then freezes. The failure usually appears years later and several feet away from the fault, which is why it gets blamed on the stone.
Already know you need someone out? Call (315) 640-3590, answered 24/7.
The assembly, from the sheathing outward
Water-resistive barrier
Behind the cladding, often in two layersThe scratch coat grabs the outermost layer, so the second layer is what keeps a channel for water to run down.
Screed or flashing at the foundation
26 gage minimum, 3 1/2 inch flangeExtends at least 1 inch below the foundation plate line. This is the bottom of the drain.
The lap
Barrier over the flange, never behind itOver carries water out of the wall. Behind carries the same water into the sheathing. Photograph it.
Lath and scratch coat
The mechanical grip for the stoneOnce this is on, nothing underneath can be inspected or corrected without removing stone.
Stone, and the clearance below it
4 inches above earth, 2 above paving1/2 inch above a walking surface on the same foundation. The gap is the drain, not a gap to be filled.
Adhered veneer on a frame wall. Everything except the last layer is invisible the moment the stone goes on.
The code does not expect the stone to keep water out
Start here, because it reframes everything else. Section R703.1.1 of the Residential Code of New York State says an exterior wall envelope shall be designed and built so that water does not accumulate inside the wall assembly, by providing a water-resistant barrier behind the exterior cladding and a means of draining to the exterior any water that penetrates the cladding. Read that second half again. The code assumes water will get through your cladding. It does not ask the stone to be watertight, it asks the wall to have a drain. That single assumption is what turns a veneer wall from a finish into an assembly: barrier, flashing, screed, lath, scratch coat, then stone, in that order, each doing one job. When homeowners compare two veneer quotes they compare stone, because the stone is the only part either quote shows them. The parts that decide whether the wall survives are all in the first three items on that list, and they are covered by lunchtime on the day they go in.
The screed at the bottom of the wall is the whole drain
Every drained assembly needs a bottom, and on adhered veneer that bottom is a specific piece of metal or plastic with specific dimensions. Section R703.12.2 requires, for adhered masonry veneer on exterior stud walls, a corrosion-resistant screed or flashing of minimum 0.019 inch, or 26 gage, galvanized or plastic, with a minimum vertical attachment flange of 3 1/2 inches, installed to extend a minimum of 1 inch below the foundation plate line. Those numbers are the reason a veneer retrofit on an older house costs more than it looks like it should. To get a screed an inch below the foundation plate line on an existing wall, the siding, trim and existing flashing have to come off, and sometimes grade or a planting bed has to be cut back, before a single stone is handled. None of that labor shows in a finished photograph. A quote that skips it is quoting a wall with no bottom to its drainage path, and there is no way to add one later without taking the stone off.
One lap direction decides the wall, and it is permanent
This is the smallest decision on the job and the one with the least room for a second chance. Section R703.12.3 requires a water-resistive barrier behind adhered masonry veneer, and requires that the barrier lap over the exterior of the attachment flange of the screed or flashing installed under Section R703.12.2. Over the flange, water running down the back of the stone reaches the flange and is carried out of the wall. Behind the flange, exactly the same water is carried in, to the sheathing, the framing and whatever insulation is in the cavity. Same materials, same crew, one afternoon apart, opposite outcomes, and the two are indistinguishable once the lath and the scratch coat are on. If you are having veneer installed, this is the thing to look at before the stone goes up, and it takes about thirty seconds to see which way the barrier runs at the base of the wall.
Why two layers of barrier go behind this product in particular
You will see two layers specified behind adhered stone more often than behind other claddings, and the reason is mechanical rather than belt and braces. A forensic engineering review of adhered manufactured stone veneer failures explains that the mortar scratch coat grabs, although loosely, the first and outermost layer of water-resistive barrier, leaving no room or space for water to channel down. In other words the scratch coat sticks to the drainage plane and closes it. The second layer is what keeps an open path once the first has been taken over by the mortar. Adhered veneer has no air space behind it the way an anchored brick wall does, so the drainage gap it does have is thin and easily lost. That is why the detailing matters more on this product than on a heavier one, not less, and it is why the cheapest version of a veneer wall is so often the one that fails.
The one check you can do yourself from the driveway
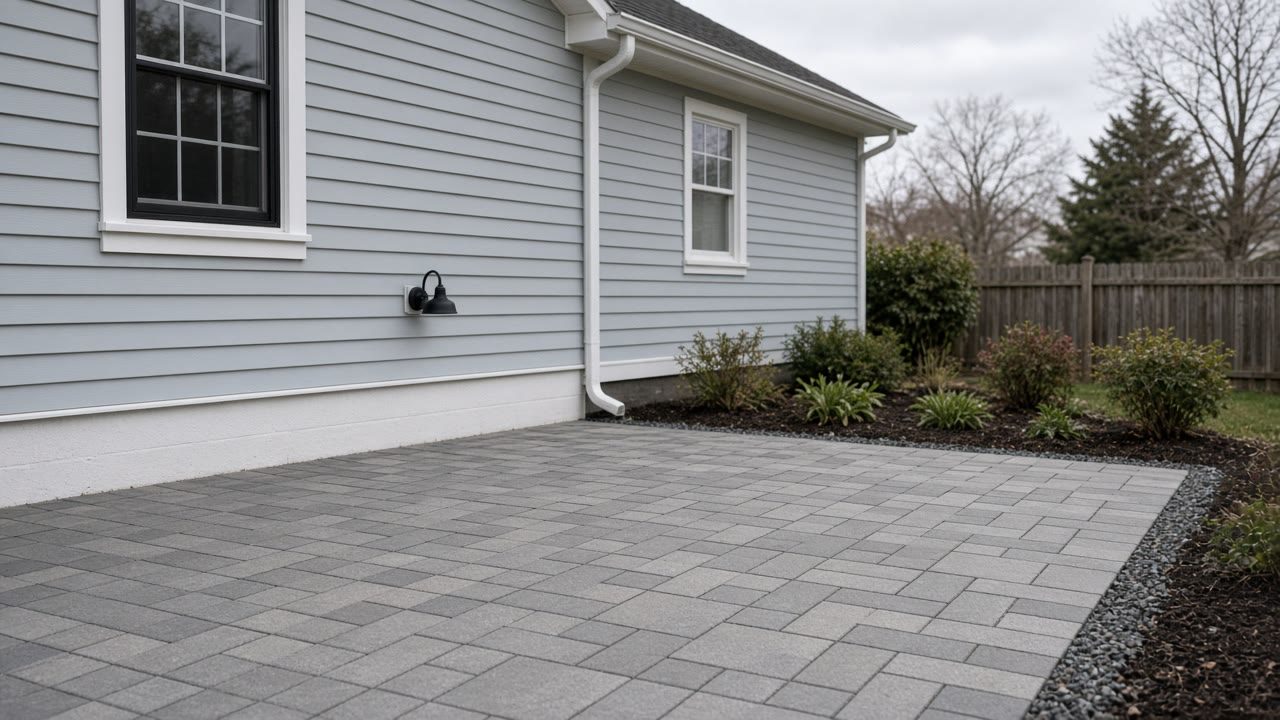
You do not need anyone for this and it takes a minute. Section R703.12.1 sets the clearances for adhered masonry veneer on exterior stud walls: a minimum of 4 inches above the earth, a minimum of 2 inches above paved areas, and a minimum of 1/2 inch above exterior walking surfaces supported by the same foundation as the wall. Go and look at where your stone stops. If it runs down into soil or mulch, or a bed has been banked up against it since it was installed, or a slab or patio has been poured tight to it, the drainage path at the bottom of the wall has been closed off and the base of the assembly is now sitting in wet ground. On an existing wall that is often fixed by a landscaper with a shovel rather than by a mason with a saw, and restoring 4 inches of clearance is one of the very few masonry problems with a cheap answer. It is also the single most common thing we see done to a wall that was built correctly.
Why the damage shows up years later and feet away
This is the part that makes veneer failure so hard to argue about, and it is documented rather than anecdotal. The same forensic review states that the water-resistive barrier needs to be carefully incorporated with flashings and weep screeds to create a complete water management system that directs water penetrating the stone down and out to the exterior, that failure to follow the details can result in water reaching sheathing, insulation and framing with rot, mold and structural failure of framing as outcomes, and that moisture intrusion is not always apparent because it may take months or years after the original construction for issues to appear on interior walls. So the evidence arrives after the warranty conversation has gone cold, in a room, not on the wall, and usually some distance from where the water actually entered. That lag is why the stone gets blamed. The wall looked right on handover day for the straightforward reason that the part that was wrong had already been covered up.
Then a Syracuse winter finishes the job
Water sitting in an assembly is a problem anywhere. Here it is a seasonal one. The median freeze-free season at Syracuse runs April 29 to October 19, which is 173 days, so for the larger half of the year a wall holding water is a wall where that water can freeze. The masonry specification is explicit about what freezing water does inside a mortar joint: it names the volumetric expansion of water during freezing as the reason wet mortar is damaged, and states that when mortar freezes its water content, strength development and durability are all negatively affected. The same expansion works on a saturated assembly that has no way to dry, cycle after cycle, pushing the stone away from the wall from behind. That is the sequence that ends with a sheet of veneer on the lawn after a thaw, and it is also why a re-stone over the same base detail buys you a repeat rather than a repair. Find where the water is entering, correct the bottom of the wall, then put stone back on.
The photographs worth taking on the day
A veneer wall offers you exactly one inspection opportunity in its life, and it lasts about a day. Before the lath and the scratch coat go on, photograph the base of the wall where the screed meets the foundation, the direction the barrier laps over the flange, the barrier around every window, door, hose bib, light and deck ledger, and the clearance at the bottom where the stone will stop. That is a phone in your hand for five minutes. It costs nothing, no reasonable contractor objects to it, and it is the only record that will ever exist of the half of the wall that decides the other half. If anyone treats the request as a lack of trust, you have learned something useful for the price of asking.
If your stone is already coming off
Then the order of operations matters more than the choice of stone. The first job is finding where water is getting in and where it was supposed to leave, usually at the base of the wall, at a window head, or wherever something was later built tight against the stone. The second is correcting that detail, which sometimes means opening the wall down to the foundation plate line. Re-stoning is third, and doing it first simply buries the same fault behind a new face. If you want that looked at, send photographs of the bottom of the wall and of wherever the stone is loose, and tell us roughly when it was installed. We will put it to licensed, insured masons who install this assembly. There is no obligation, and where the honest answer is clearance and grading rather than masonry, that is the answer you will get.
Sources used in this guide
Section R703.1.1 of the Residential Code of New York State states the governing principle for every cladding on a frame wall: the exterior wall envelope shall be designed and constructed in a manner that prevents the accumulation of water within the wall assembly by providing a water-resistant barrier behind the exterior cladding as required by Section R703.2, and a means of draining to the exterior water that penetrates the exterior cladding.
Source: 2020 Residential Code of New York State, Section R703, Exterior Covering, via UpCodes, accessed 2026-09-14
Section R703.12.2 of the Residential Code of New York State, Flashing at Foundation, requires that for adhered masonry veneer on exterior stud walls a corrosion-resistant screed or flashing of a minimum 0.019 inch, or 26 gage, galvanized or plastic, with a minimum vertical attachment flange of 3 1/2 inches, shall be installed to extend a minimum of 1 inch below the foundation plate line.
Source: 2020 Residential Code of New York State, Section R703, Exterior Covering, via UpCodes, accessed 2026-09-14
Section R703.12.3 requires a water-resistive barrier behind adhered masonry veneer and states that the water-resistive barrier shall lap over the exterior of the attachment flange of the screed or flashing provided in accordance with Section R703.12.2. The lap direction is the whole point: the barrier over the flange carries water out of the wall, and the barrier behind the flange carries it in.
Source: 2020 Residential Code of New York State, Section R703, Exterior Covering, via UpCodes, accessed 2026-09-14
Section R703.12.1 sets clearances for adhered masonry veneer on exterior stud walls: a minimum of 4 inches above the earth, a minimum of 2 inches above paved areas, or a minimum of 1/2 inch above exterior walking surfaces supported by the same foundation that supports the exterior wall.
Source: 2020 Residential Code of New York State, Section R703, Exterior Covering, via UpCodes, accessed 2026-09-14
A forensic engineering firm investigating adhered manufactured stone veneer failures explains why two layers of water-resistive barrier are used behind this product in particular: the mortar scratch coat bonds, although loosely, to the first and outermost layer of barrier, leaving no room or space for water to channel down. The second layer is what preserves a drainage path once the scratch coat has grabbed the first.
Source: Thomas Dunn, PE, CME, Senior Forensic Engineer, Vertex, Adhered Manufactured Stone Veneer: Installation, Investigation and Repair, accessed 2026-09-14
The same investigation states that the water-resistive barrier needs to be carefully incorporated with flashings and weep screeds in order to create a complete water management system that directs the water that penetrates through the stone down and out to the exterior, that failure to follow the details can result in water reaching sheathing, insulation and framing with rot, mold and structural failure of framing as outcomes, and that moisture intrusion is not always apparent because it may take months or years after the original construction for issues to appear on interior walls.
Source: Thomas Dunn, PE, CME, Senior Forensic Engineer, Vertex, Adhered Manufactured Stone Veneer: Installation, Investigation and Repair, accessed 2026-09-14
Freezing does not merely slow the mortar, it damages it physically. Technical Note 1 states that mortar with a water content greater than 6 percent, that is mortar in a wet condition, will likely be damaged by the volumetric expansion of the water during freezing, and that when mortar freezes its water content, strength development and durability are all negatively affected. Ice in the mixing water must be melted or removed before the water goes in the mixer, and sand containing frozen particles or frost must not be used.
Source: Brick Industry Association, Technical Note 1, Hot and Cold Weather Construction, accessed 2026-09-14
Under the 1991 to 2020 normals for Syracuse Hancock International Airport, the median date of the last spring freeze at 32 degrees Fahrenheit is April 29 and the median date of the first fall freeze is October 19, giving a median freeze-free season of 173 days. Those are 50 percent probability dates: the last spring freeze falls as late as May 13 in one year in ten and as early as April 16 in one year in ten, and the first fall freeze falls as early as October 2 in one year in ten and as late as November 4 in one year in ten.
Source: NOAA National Centers for Environmental Information, 1991-2020 US Climate Normals, annual and seasonal normals, station USW00014771 Syracuse Hancock International Airport, accessed 2026-09-14
Services this guide relates to
Need someone to look at it?
Send the details and we will come back to you.